A VR FPS I am currently solo-developing. It draws on my admiration for the art direction of the Mirror’s Edge and Ghost in the Shell universes. This page catalogs some of the ongoing features I’ve built working with Unreal Engine and the VRExpansion Plugin as I work towards a fully functional game.
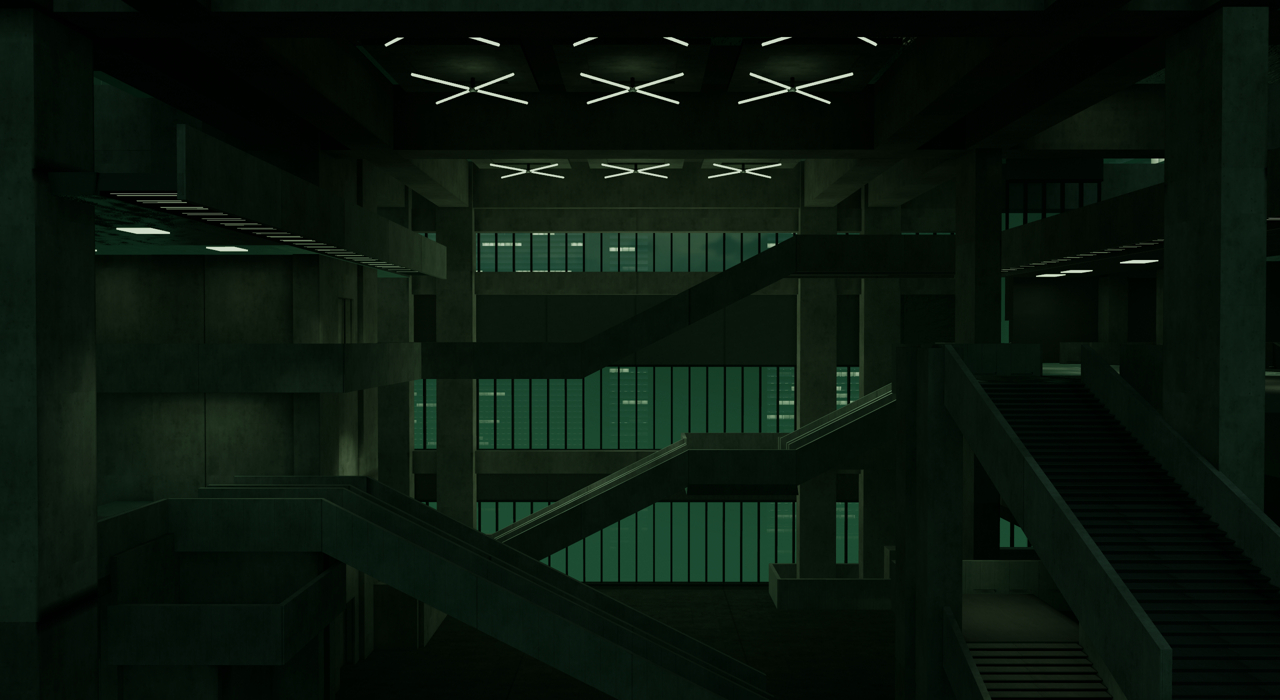
00_AI Design
The design goal of Plinth VR’s NPC enemies is to create agents that have a small catalog of varying actions: enough to make them dynamic and responsive to the given situation, but not an overwhelming amount that will complicate development. I’ve generalized their behavior in 3 primary categories:
1) Passive state: NPCs will idle in place or patrol, and will listen for noise events, allowing the player to plan their movement or attacks
2) Alert state: If NPCs become aware of a disturbance or lose sight of the player, they will actively patrol to locate the source. This forces players to carefully plan retreats or subsequent attacks to avoid being found.
3) Combat state: If NPCs gain sight of the player, they will actively dodge, seek cover, or advance. My intention is to keep them dynamically active to avoid the ‘damage sponge’ phenomenon.
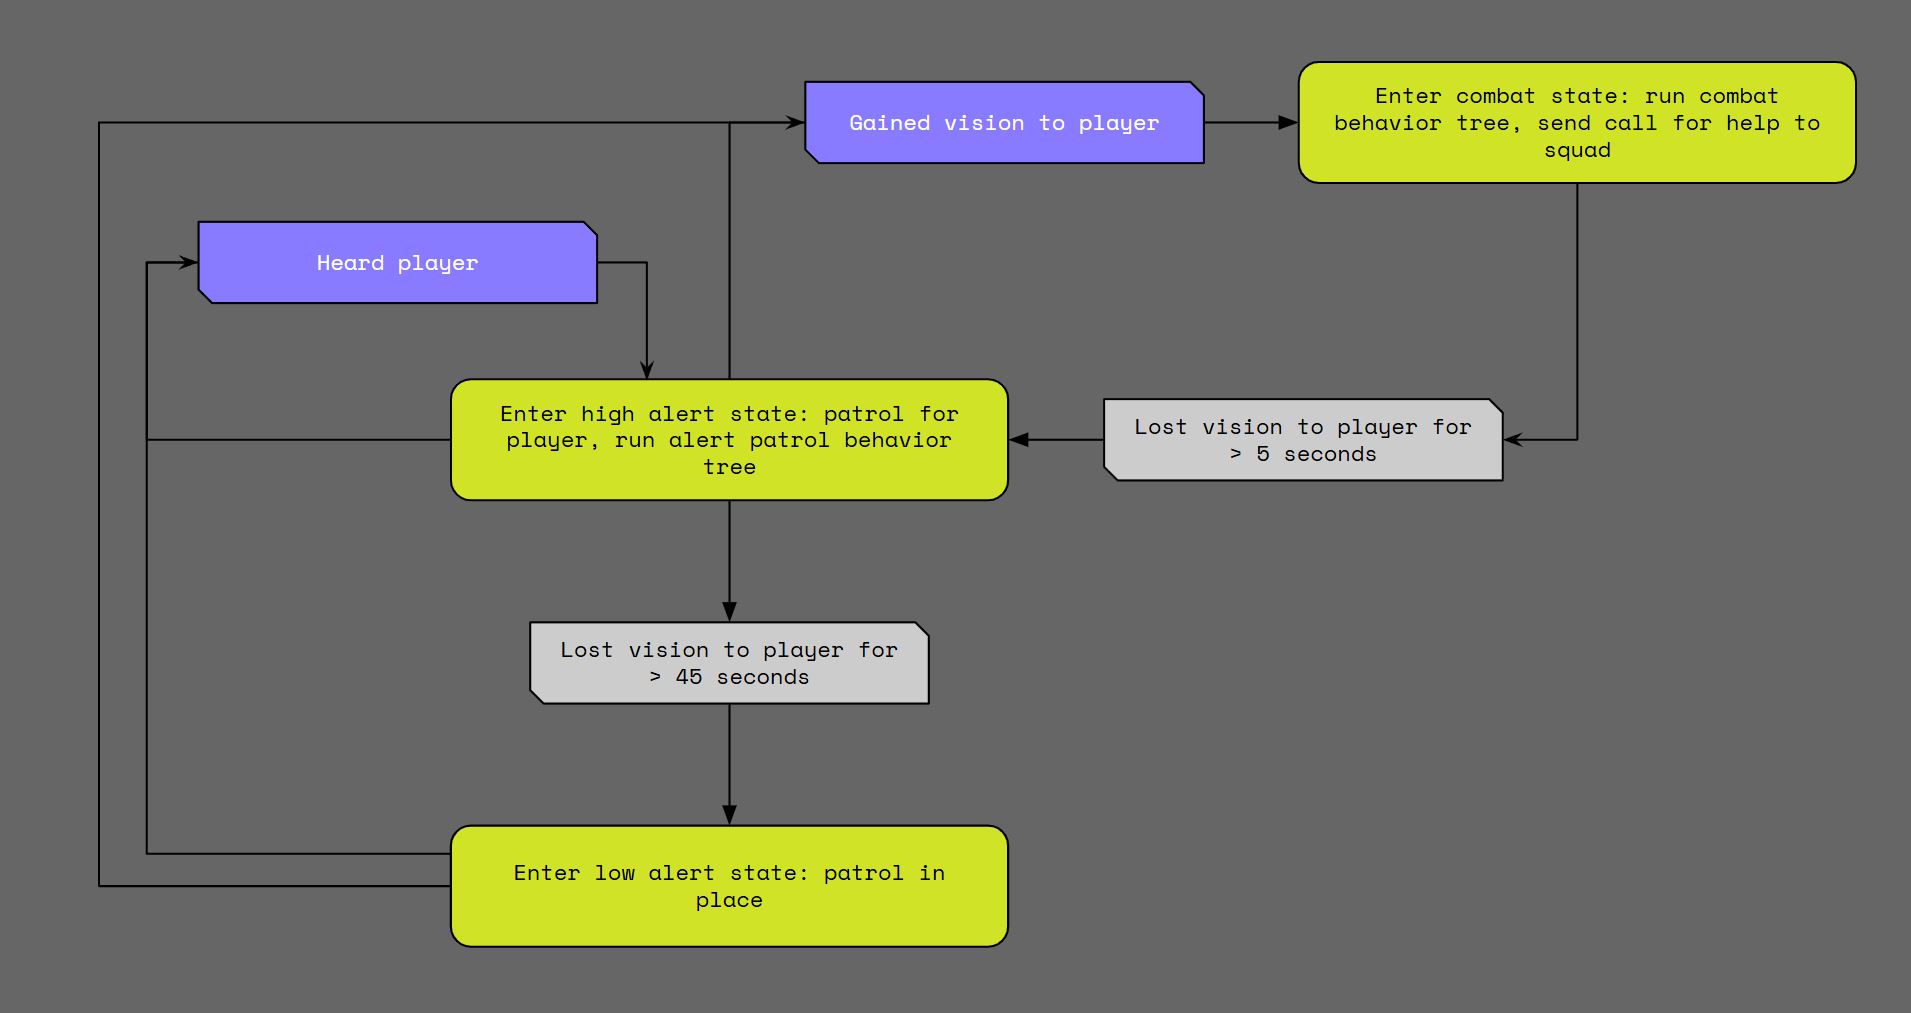
These three general states are managed by a series of events and blackboard value changes inside the AI Controller class, which are triggered from changes in perception update. The diagram below illustrates a basic flow to these state changes. Upon a change of state, the AI Controller runs the appropriate behavior tree.
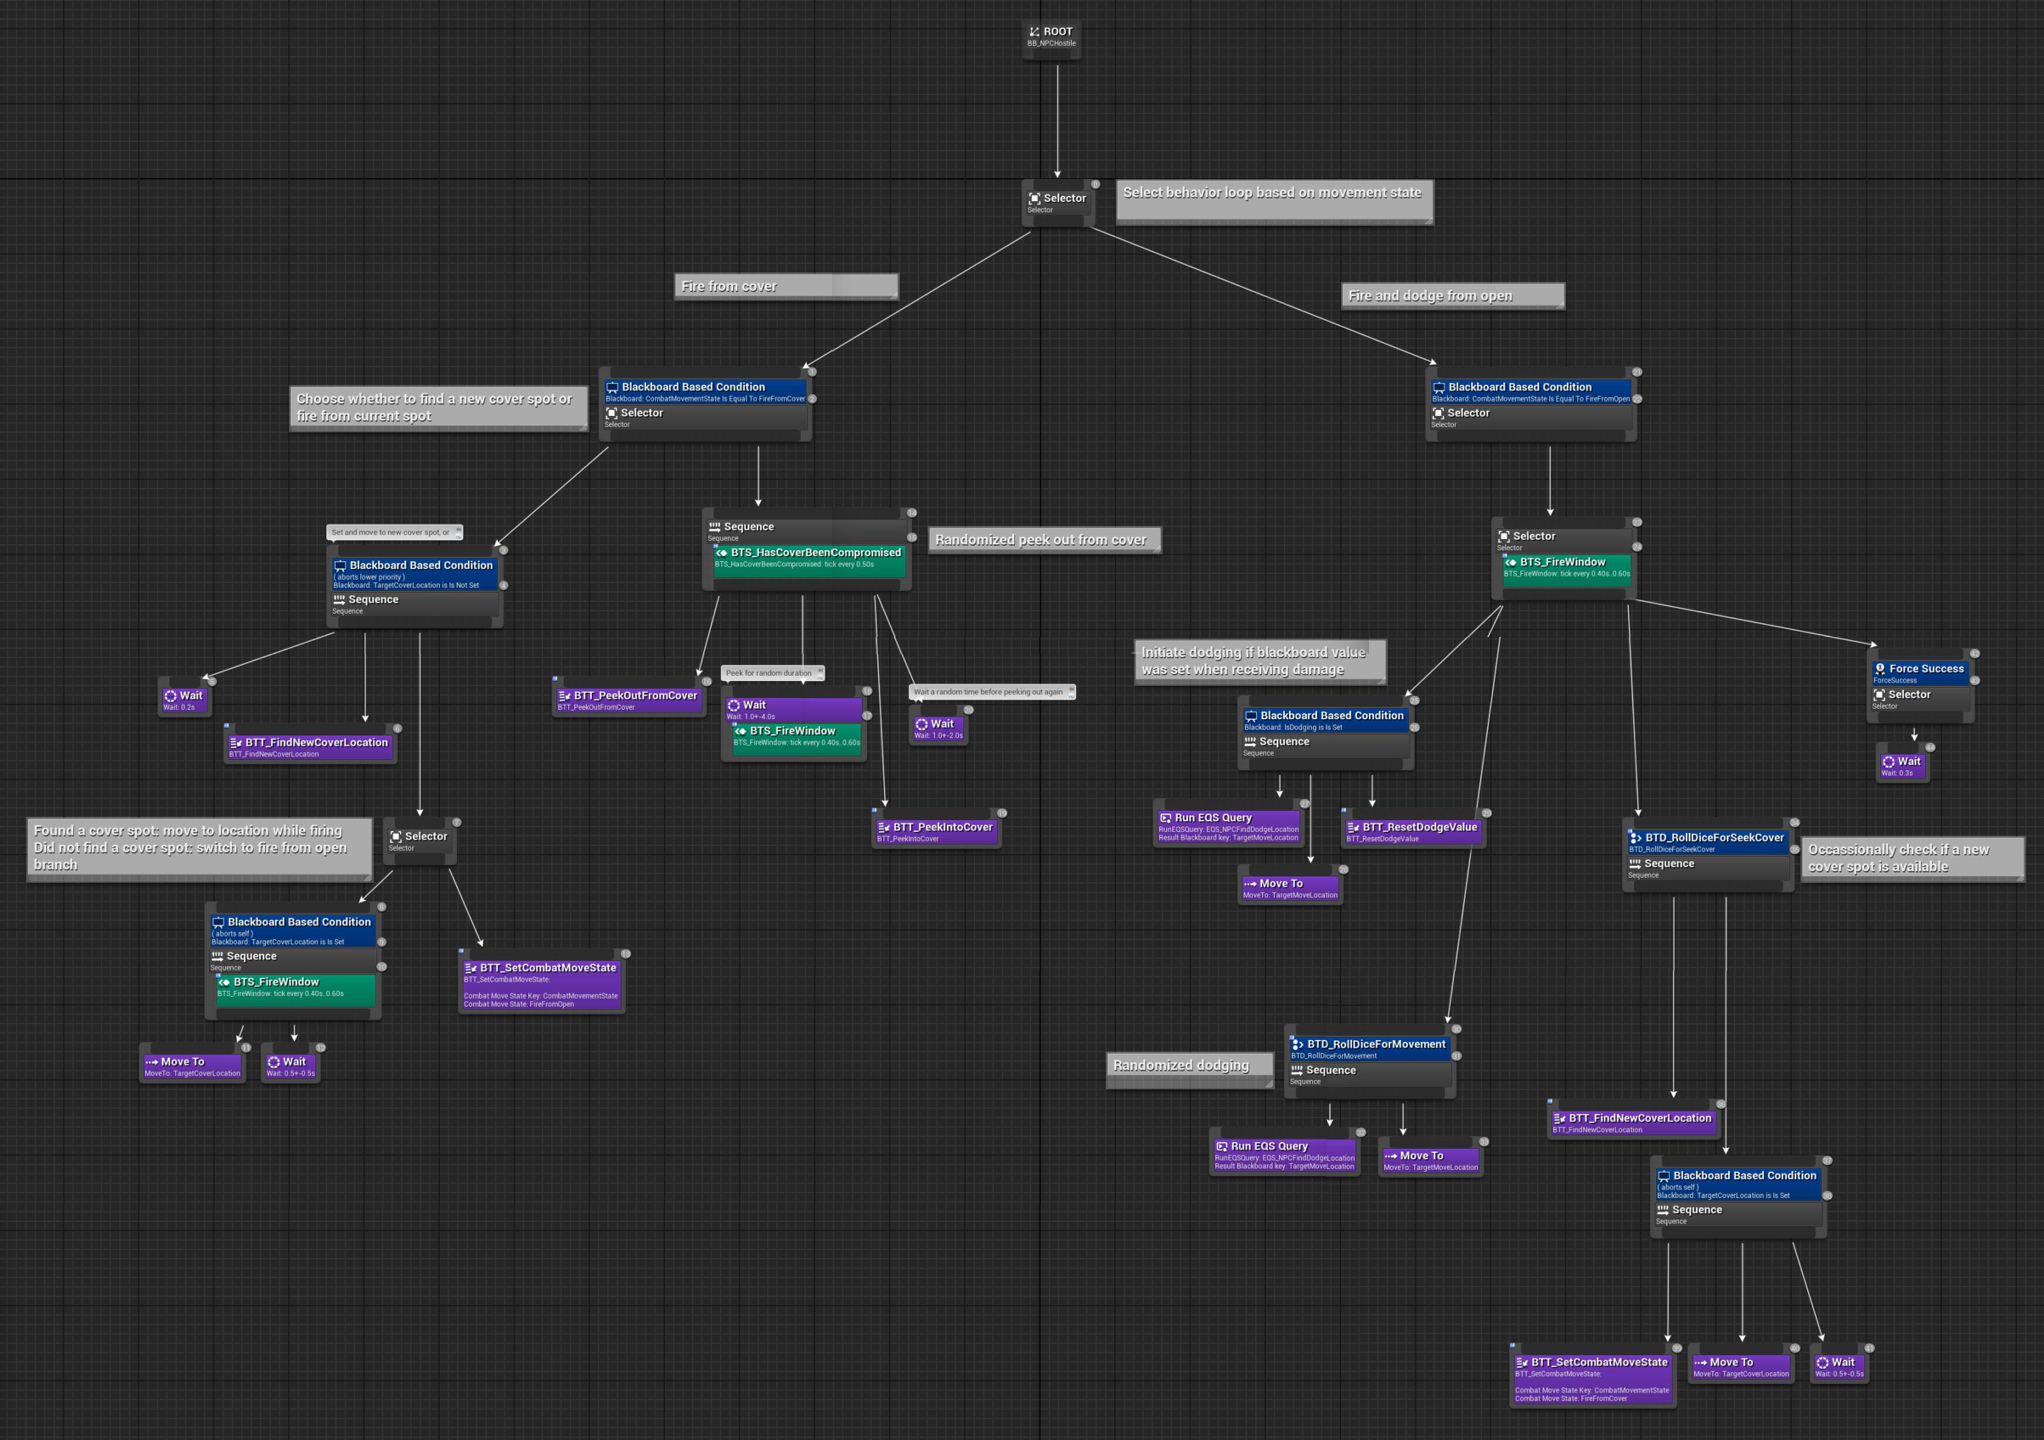
The combat behavior tree toggles between two main branches, in order of priority: firing from cover or attacking from the open.
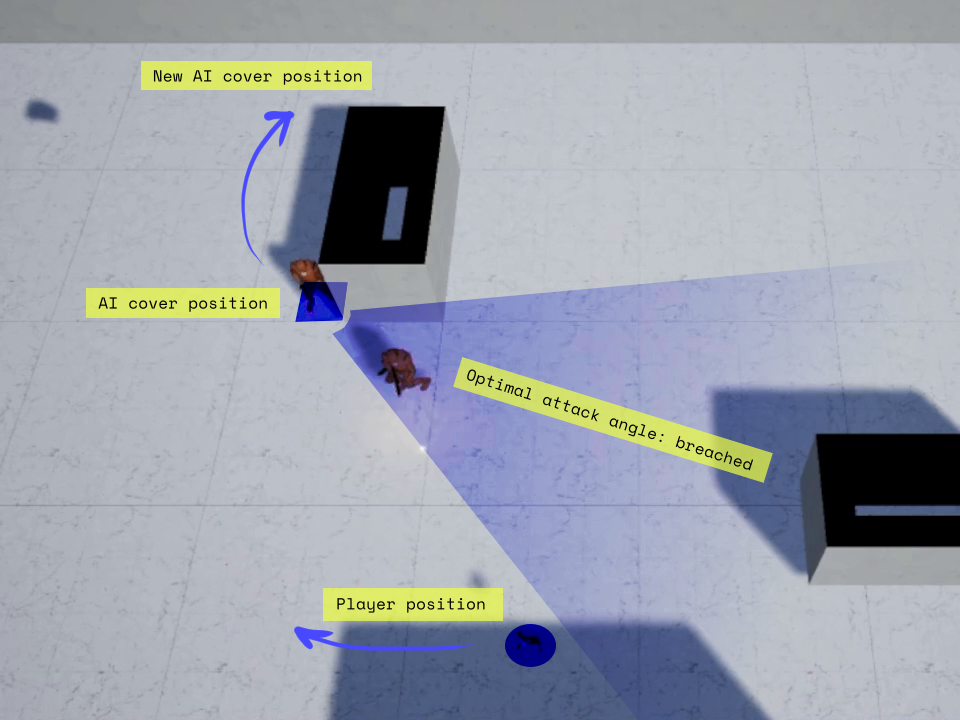
The service node BTS_HasCoverBeenCompromised checks the player’s current location against the cover position’s optimal attack angle. If the player falls outside of that angle range, the branch is aborted and the agent is forced to select a new cover spot. The task node BTT_FindNewCoverLocation recycles this same function’s logic when it queries the available cover locations within a given radius.
01_Gun Handling
Gun Handling Grip Poses
The player character’s hand skeletal mesh updates its pose according to which object and socket are gripped. The default UE4 Mannequin hands are gigantic and don’t correspond well to the actual player’s hands, so I took a sample hand mesh with more realistic proportions, modeled the bone hierarchy in blender, and recorded the poses in an animation asset. In UE4, the hands use their own animation blueprint where the grip poses are called for each specific socket.
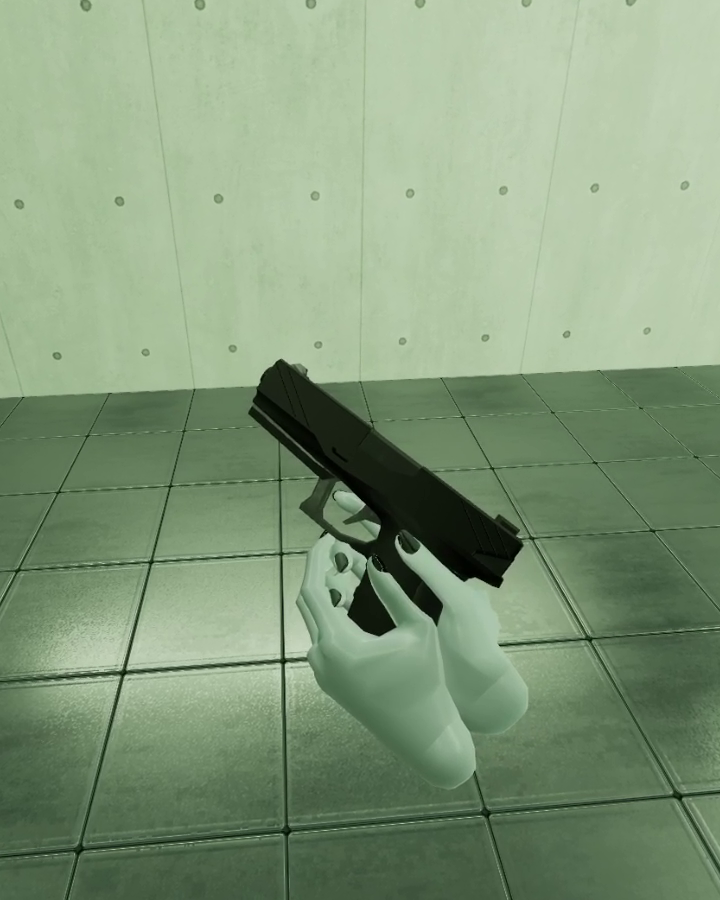
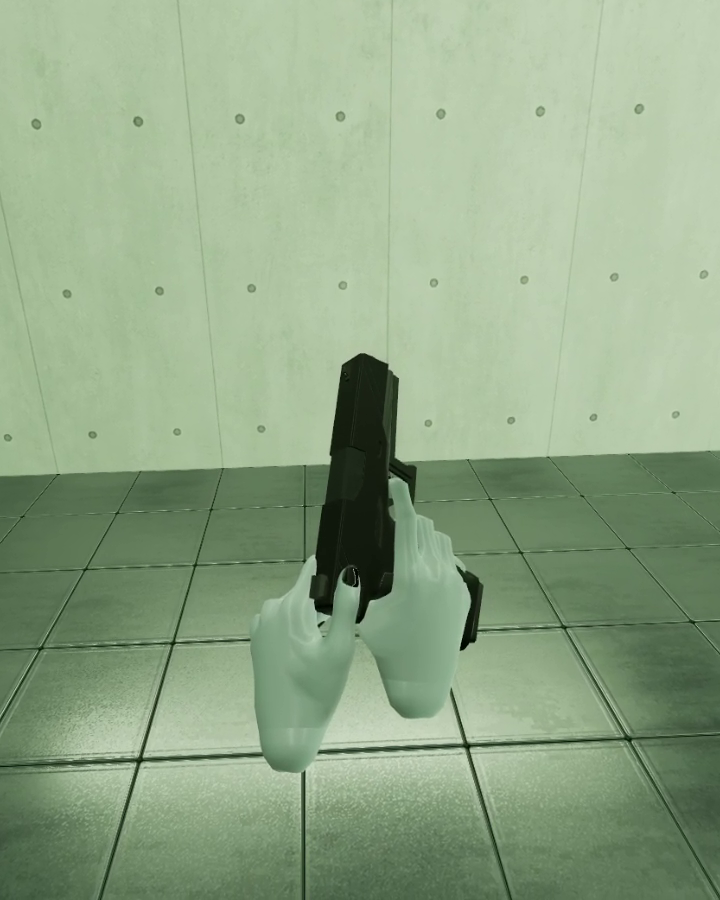
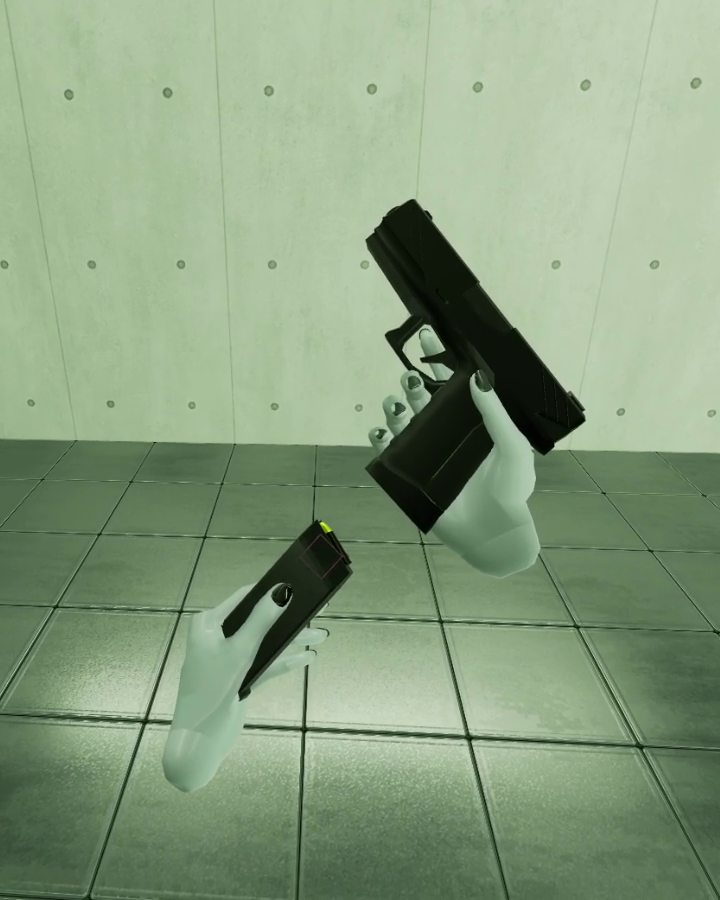
I also utilized the grip poses to design the feel of each gun’s magazine insertion. The pistol magazines are cupped at the bottom–similar to the gun grip–since the magazine is completely captured inside the grip cavity. This grip position also helps avoid the controllers slamming into each other on insertion.
Gun Handling Physics Impulses
In pursuit of making the guns feel immersive, I added several small physics impulses that are triggered when the player performs an interaction on the gun. There are many games which do not do this. When I play these games, the guns often feel more like weightless objects welded to my hand–not like the powerful, mechanically complex tools they are meant to be. These small physics impulses provide a subtle sense of feedback to the player, confirming their movements and interactions. I added these physics impulses primarily for magazine insertion and charge handle pull & release.
For guns with secondary grips, like rifles, the magazine insertion impulse responds to the location of the grip accordingly.
Gun Recoil Patterns
Gun recoil has been one of the hardest features to design since it touches not just the domain of real-world simulation, but also the gun’s aesthetic feel and combat gameplay balancing. Gun recoil also carries the baggage of desktop/console FPS design legacy, so it is even harder to revisit it in VR with fresh eyes.
In general, there are two paradigms for approaching the design of recoil, but first, I thought it important to start by thinking about the purpose of recoil relative to gameplay. In the desktop/console lineage, recoil was a means of weapon balancing via RNG, allowing for different weapon roles to emerge based on distance ranges. Artificial recoil was necessary since there was no way to physically move the player’s hands and it was quite easy to keep a stable aim with an idle mouse or joystick. High rate-of-fire weapons would be easy to master in this case. Subsequently, this created a much smaller mini-game loop where mastering recoil through precise reticle adjustments was a valuable and rewarding skill to develop.
Desktop/console FPS games employed two methods of recoil: either artificially moving the gun and reticle after each shot, or artificially moving the bullet trajectory–basically, does the bullet reliably travel to where the reticle is pointing? In VR, starting from the perspective of “what makes for a rewarding recoil control meta-game” and considering that the immersiveness of VR stems from the simulation of precise control of one’s hands, only the former method makes sense to use. It would feel quite odd–possibly errant–for bullets to travel randomly away from a player’s intended aim trajectory. Therefore, I adopted the first method of artificially moving the weapon in the player’s hands after each shot, which also nicely corresponds to the expected behavior of such a real-world object.
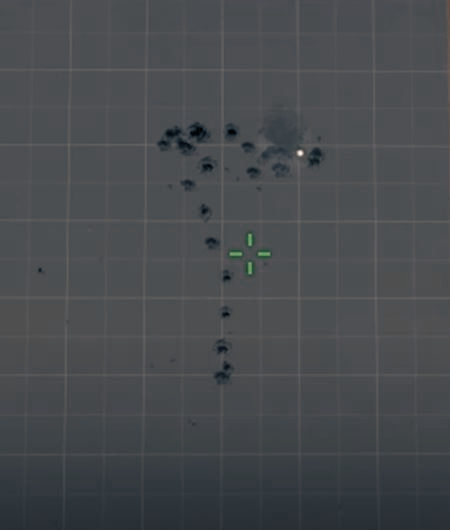
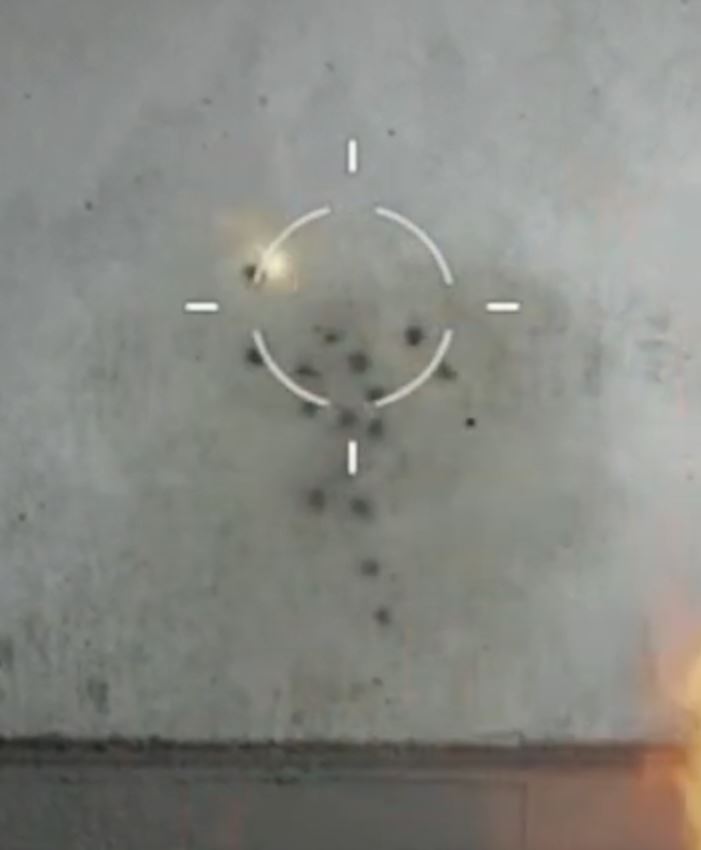
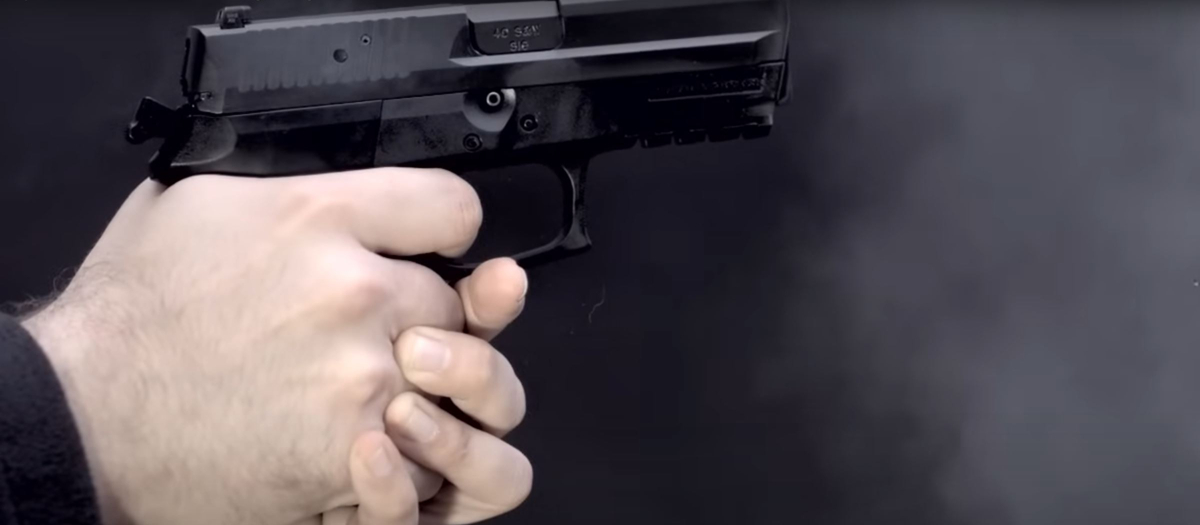
The second step of this design process, though, requires balancing that sense of realism with the recoil-control minigame. I started by looking at high-speed recordings of pistols, taking note of the timeframes for the gun to rotate upwards, impulse backwards, and return to a stable position after the user’s hands apply resistance. What I noticed is that this total timeframe–starting position, recoil, back to starting position–is quite a bit longer than the time it takes to successively pull the trigger. This means there will frequently be times when the player is firing the gun while the gun is still in a state of recoil. So the challenge here for semi-auto weapons is how to design the recoil such that successive shots can be comfortably aimed (or not aimed, if the intent is to force the player to wait).
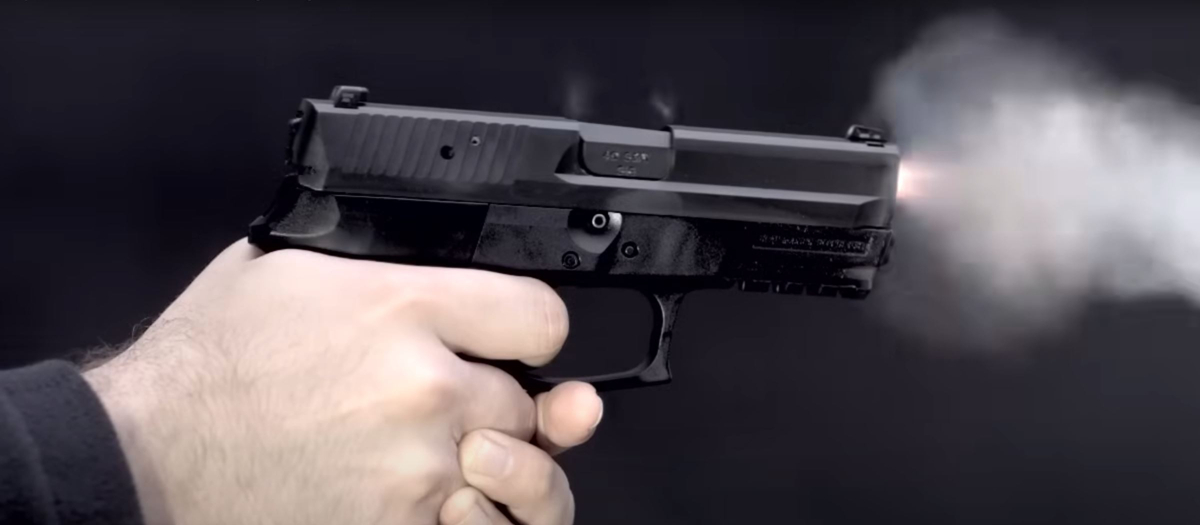
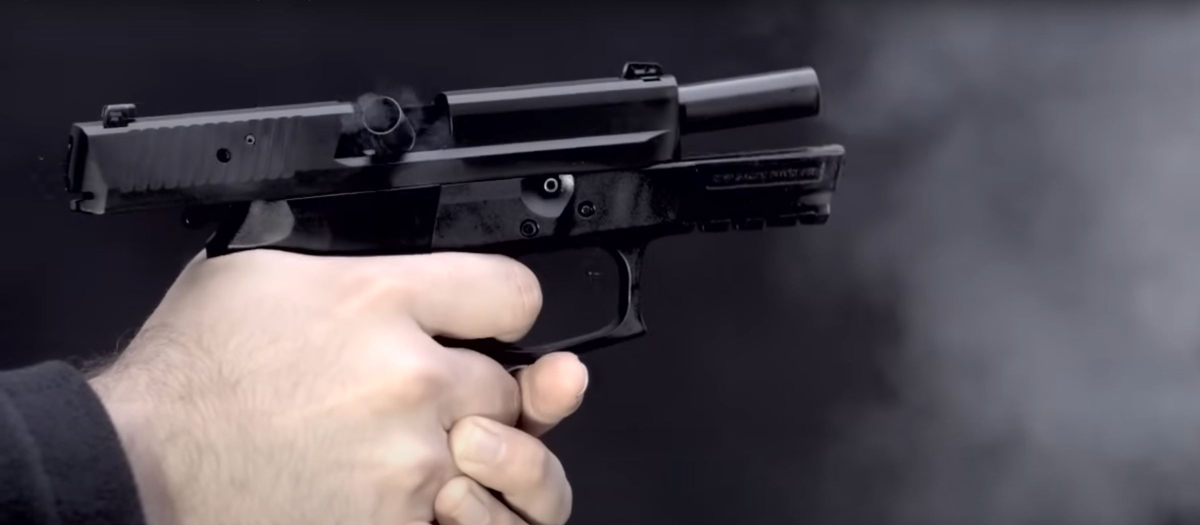
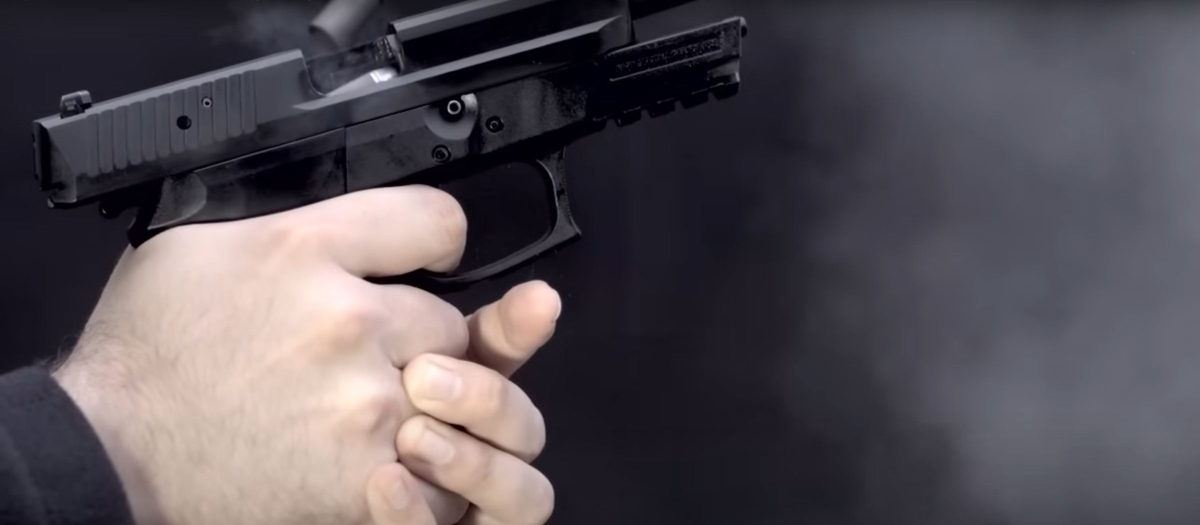
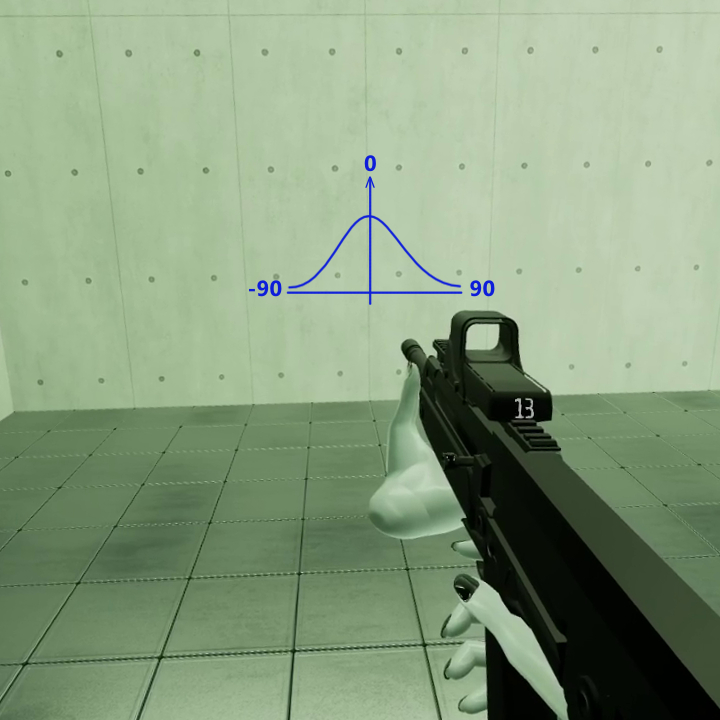
The third step of the design process is how to mathematically handle subsequent recoil instances when the gun is already in a state of recoil. Initially, I tried performing a simple addition of the new recoil displacement on top of the ongoing displacement. This would be the expected real-world behavior, but this produced a strange feel in VR when multiple subsequent recoil instances stacked. The player’s virtual hands would be pushed far away from their actual hands, breaking immersion. This effect was especially bad for automatic weapons. I instead opted to fully reset the displacement with each shot to avoid recoil drift. Then, I introduced slight randomness into the recoil direction so the player would only need to make minor hand adjustments between shots to keep the reticle aligned to their target.
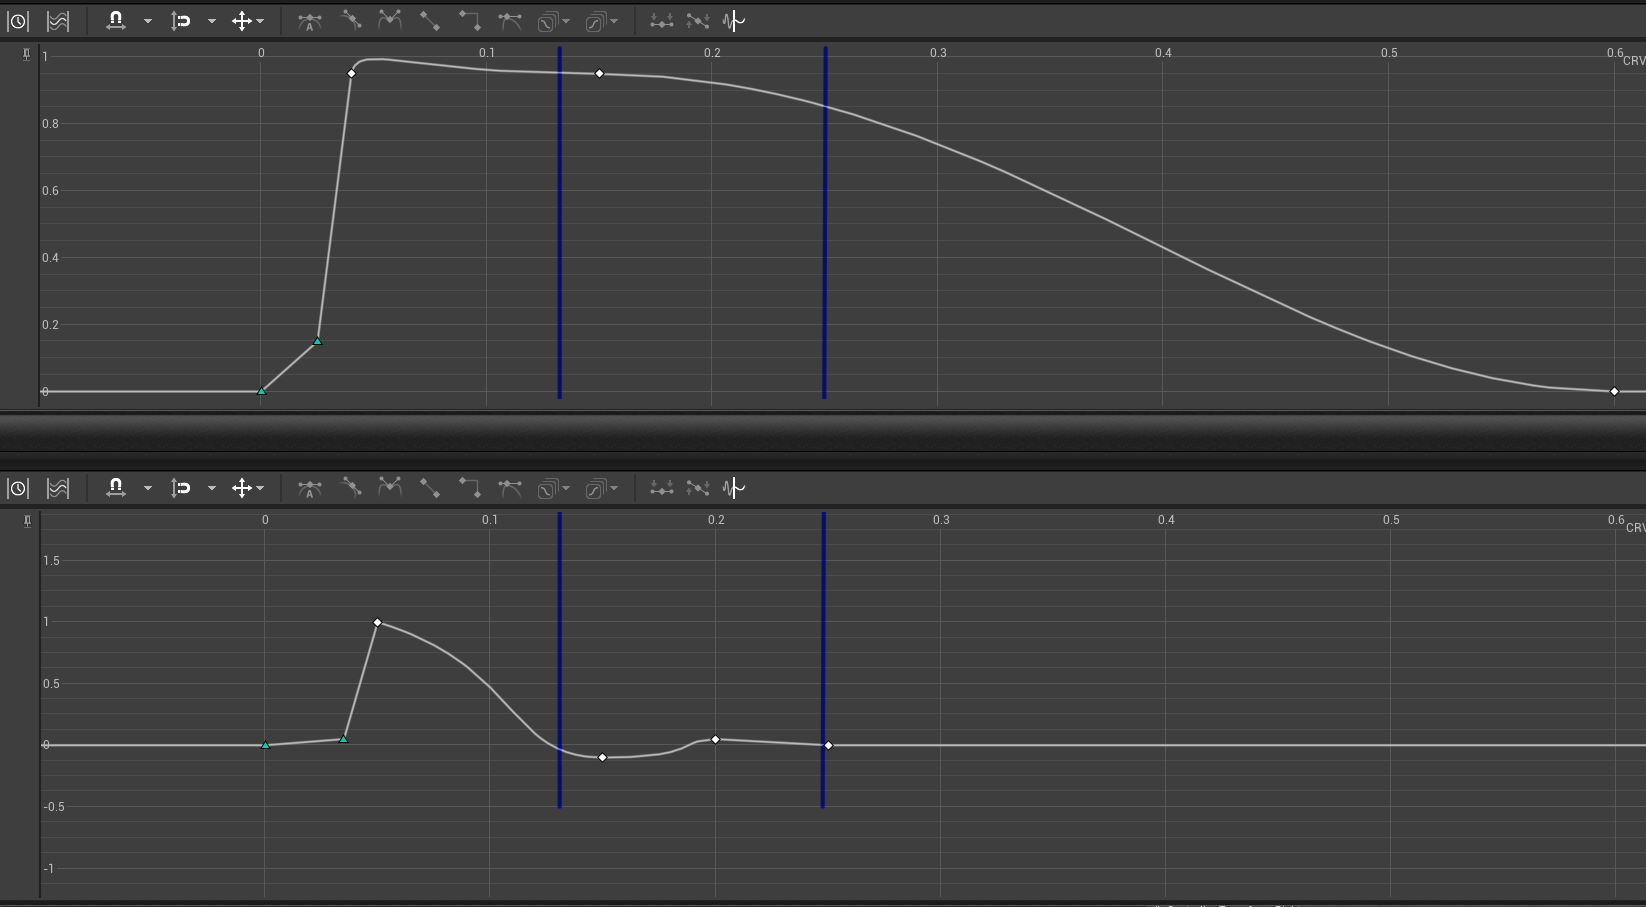
The final step was to design the recoil curves (separate curves for location and rotation displacement) for each weapon based on the desired role and feel. For the pistol, for example, I set the rotation curve to pop dramatically, but to return to a level angle quickly enough that the player could line up a second shot, even if their hand location was still recovering back to a forward position. The timeframe of the rotation jolt was calibrated such that quick, reckless shots would be inaccurate at longer ranges, but a slight patience between shots would be stable.
The resulting effect produces a meaningful set of gameplay choices for the player while also still maintaining a sense of realism.
Universal Ammo Pouch
Managing inventory for different types of ammo can be tedious in VR, however, I didn’t want to entirely discard the immersion loop of reaching for a new magazine. I gave the player a universal ammo pouch that does a simple check when gripped: If the player is holding a gun in their other hand, spawn and grip the compatible magazine type.
Magazine Insertion, Ejection
The experience of slotting a magazine into a weapon is an incredibly satisfying interaction to perform–it’s why so many action movies take a moment to show their characters dramatically loading their weapons. It is difficult to program this in a satisfying way for VR though. Like other small-scale objects that rely on tactile feedback for positioning, the player does not have access to this tactility to precisely line up the insertion. Other games circumvent this by simply applying a snap logic: if the magazine is within a certain radius of the insertion point, snap it into place inside the gun. I’ve always felt this type of interaction feels frustrating–as if my hands are being suddenly and forcibly overtaken. I tried to reach a compromise between these two by defining a sliding insertion spline on each gun: when the magazine approaches the insertion point, it is very slightly snapped in alignment along this spline. The player is then free to move their hand upwards to perform the insertion without any need for tactile feedback and avoiding the frustrations of mesh collisions between the two bodies.
The magazine ejection follows the same spline. Upon release, the magazine is limited along this axis by a physics constraint where it is pulled by gravity. After clearing the magazine well, the magazine’s physics constraint is cleared and it behaves like a normal simulating physics object.
The result is a reloading loop that feels effortless and imparts a sense of accomplishment.
General Gun Function Logic
Each weapon was programmed with the following capabilities:
- A single enum switches the gun between single-fire, burst-fire, and full-auto, all using the same firing loop logic. Burst fire count can be changed in an integer variable.
- Functional charge handle: pulling the charge handle will eject a round and insert the next round. The gun will also not fire if the charge handle is held.
- Discrete round in chamber: the gun tracks whether a round is chambered. If taking an empty gun and inserting a magazine, the player must first pull the charge handle before firing. Similarly, ejecting the magazine will leave a single round remaining in the chamber.
- An ammo counter readout keeps track of the current available ammo and changes color on low-ammo and zero-ammo states to warn the player.
Sights, Reticles, Scopes
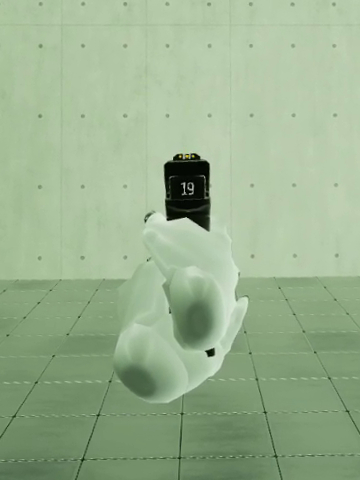
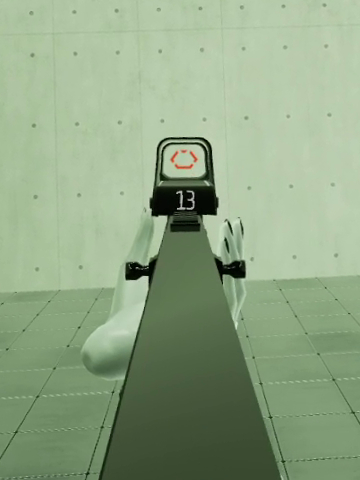
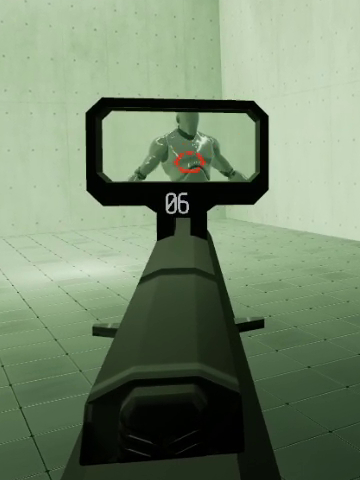
Gun sights are currently simple holographic masked materials applied to a transparent plane. They have not been sighted/calibrated to any specific distances.
02_Player Character
Dynamic Walk Speed
In the player’s Pawn character, I created a function that evaluates the player’s VR HMD height-from-floor every tick and stores a float value as the CrouchAlpha–the degree to which the player is in a full crouch position. This float value is then used to update the player’s maximum walk speed, lerp’ing between normal walk speed and crouch speed.
Walking and crouching animations were pulled from the UE4 Animation Starter Pack and retargeted to a custom skeletal mesh I made. The player’s skeletal mesh was built in blender by editing and combining two different assets: the UE4 Paragon character skeleton and an open source human character skin model from Blender Foundation.
I also created a hold-to-sprint input which blends the maximum walk speed from the default value up to a sprint speed value over a duration of ~1 second. Sprint can only be activated/maintained if the CrouchAlpha is 0.
Player Body Arm IK
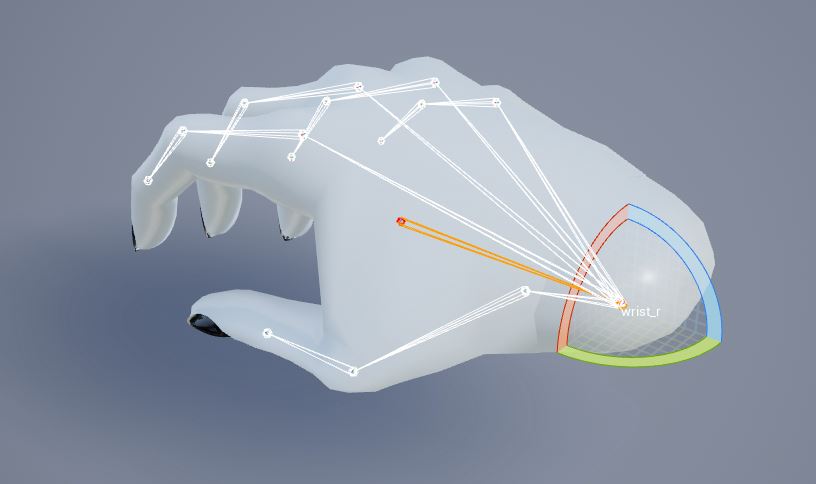
I’m currently using the DragonIK plugin to solve the arm rotations. I added an extra “wrist” bone to each hand (the hands are separate skeletal meshes, easier to compartmentalize animations and poses). The IK solver simply uses this base wrist bone as its target location and rotation.
Player Body Spine Solver
Solving the upper body positioning on a VR character presents an unfamiliar challenge. Unlike normal pawn characters whose bones/animations are driven from the character’s root (usually zeroed at the floor level, “bottom-up” animation), VR characters are reversed, since the head mesh must always be locked to the VR HMD (“top-down” animation). This presents a challenge in that it’s possible for the player to crouch and watch their feet disappear below the floor.
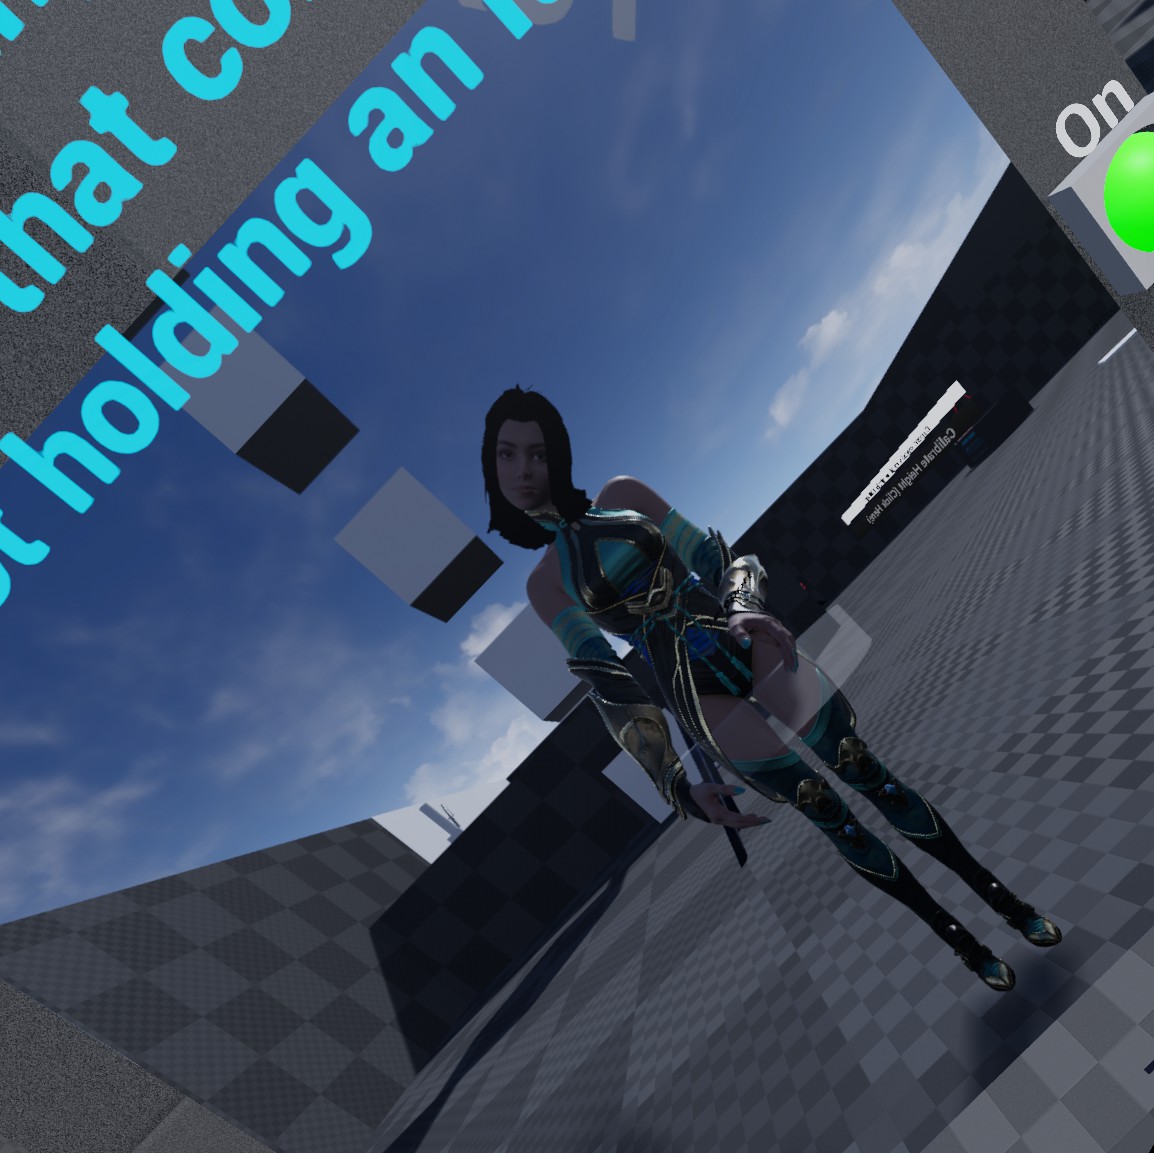
In addition, VR character capsule/roots are always centered below the headset position whereas traditional animation assets use the skeleton’s pelvis as the origin point. As a result, most VR spine solvers keep the character’s body directly below the head and simply rotate the head bone to match the camera. This looks unnatural and does not match the position of the actual player’s body.
Other solutions I researched used control rig calculations to reverse-offset the pelvis such that the head would align with the camera. This seemed conceptually wrong to me and I worried about the performance implications. I was instead curious if there was a straightforward way to start from the camera/head and proceed down the spine chain using some simple transform calculations, which could eventually arrive at the pelvis offset while also curving the spine in an aesthetically acceptable way.
My solution was to script my own procedural spine solver in a single on-tick function. This function takes the HMD’s orientation starting from the head bone and tries to ‘unrotate’ a portion of that rotational offset at each bone link, arriving at a targeted final pelvis rotation. The final pelvis target rotation can be adjusted for situations like crouching where the base of the spine is bent forward. This solution also incorporates a Yaw tolerance. The body does not automatically rotate side-to-side with the HMD; it assumes smaller rotation values would translate to the player looking left or right with their neck. The pelvis ‘forward’ direction stays constant and only resets if a certain angle is breached.
At the end of the spine solver function, the final bone transforms are saved and passed to the AnimBlueprint. With the pelvis and spine generally correct (and the arms solved separately with the DragonIK nodes), the leg bones could be animated from walk, sprint, and crouch blendspaces.
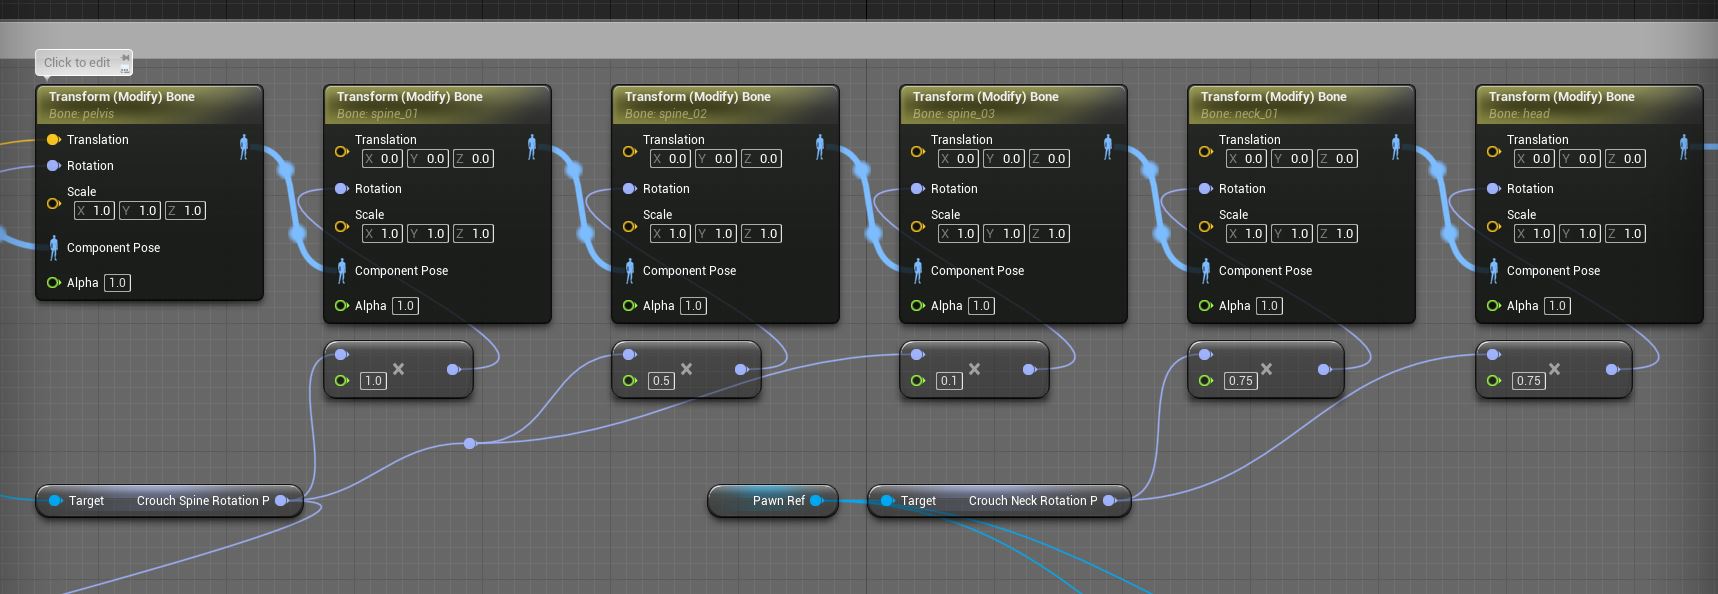
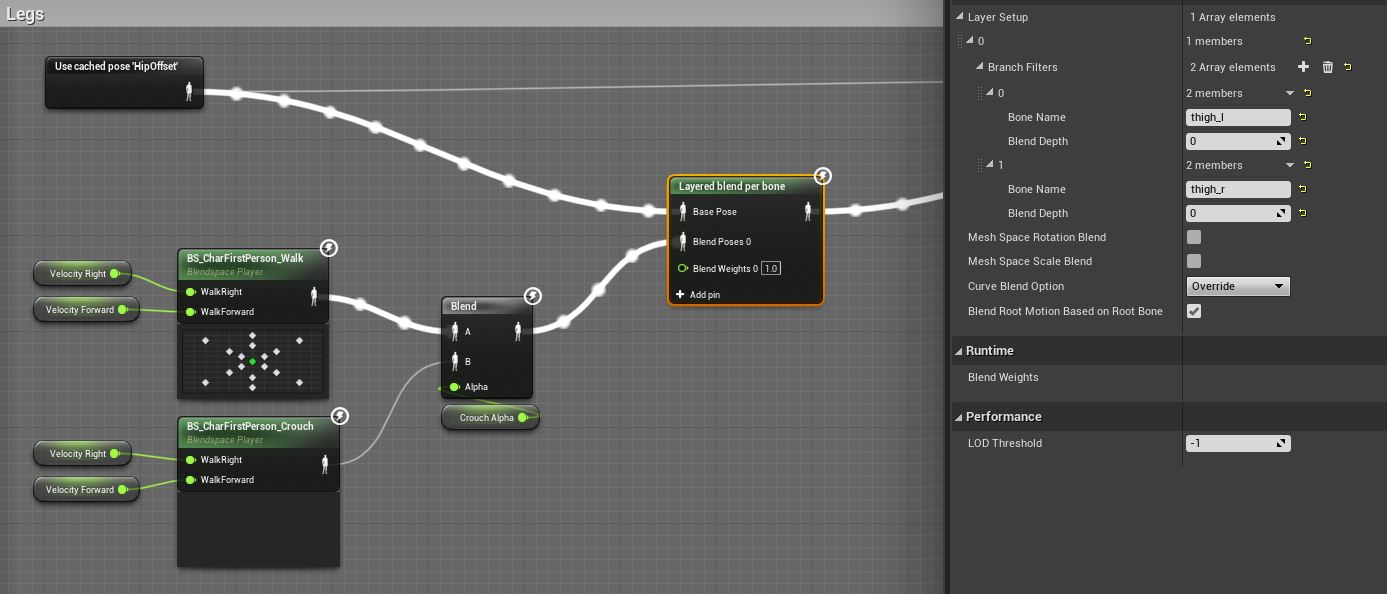
Overall, this produced a fair first pass at the player body IK with the movements feeling viscerally believable.
03_Combat Interactions
Damage Calculation Interface
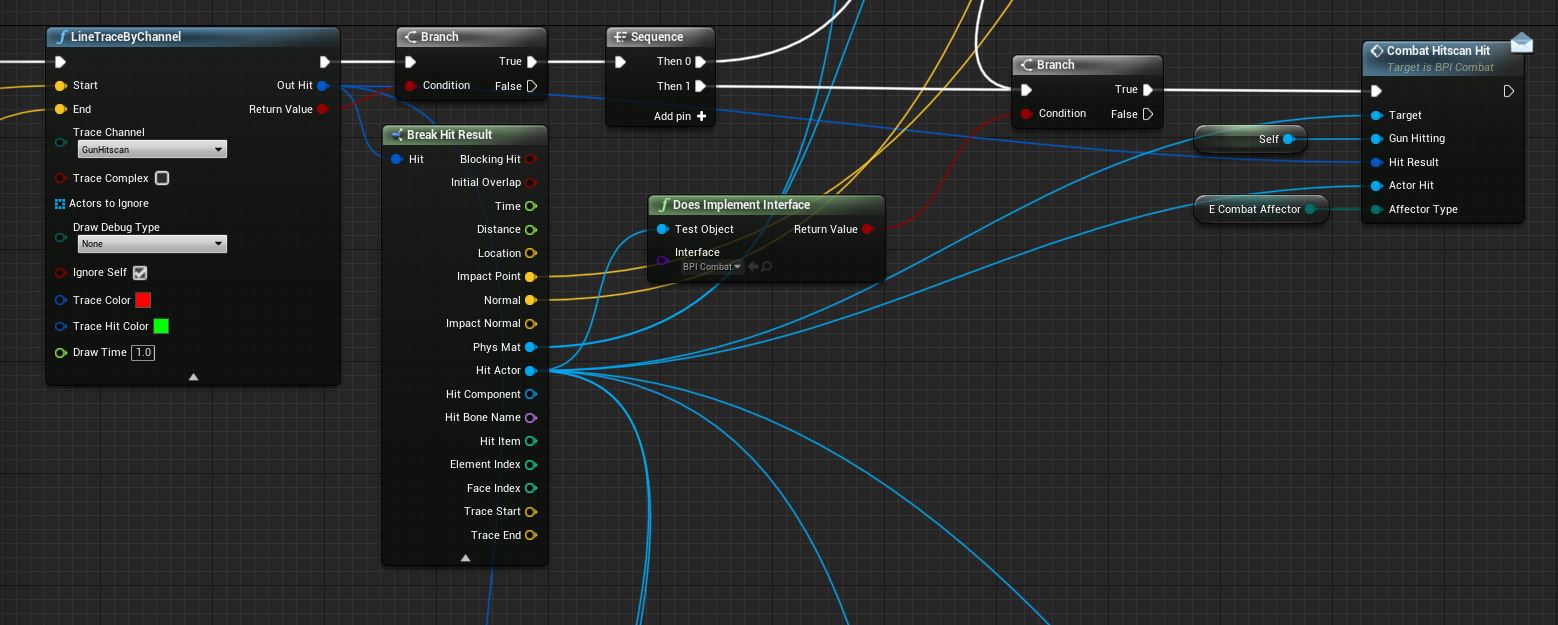
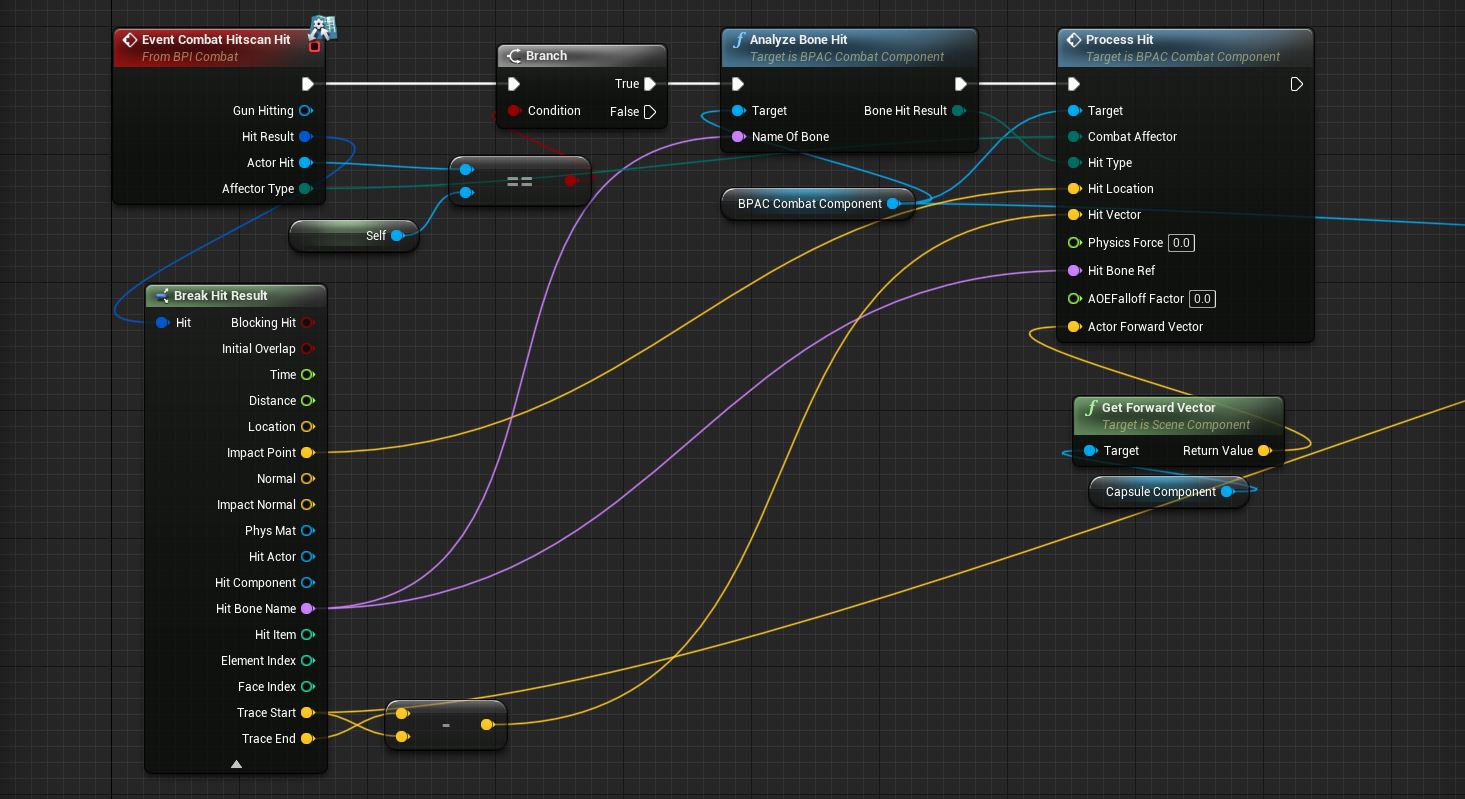
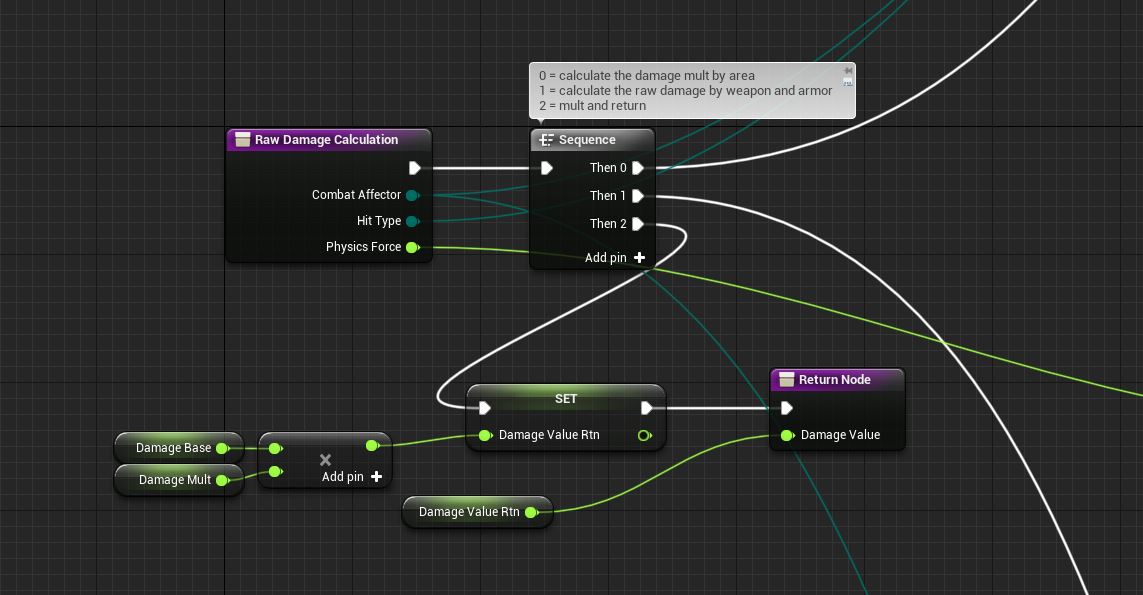
I anticipated the gameplay might require the player and NPCs to deal damage to different types of actors using a variety of weapons and abilities. To centralize the combat calculations and provide flexibility for how the calculations are triggered, I created a blueprint interface and actor component that handle this logic. Weapons, equipment, and relevant actors all use this blueprint interface to register a new combat event. The receiving actor then feeds this combat event into their actor component which automatically calculates all relevant health updates and triggers status events, like an actor becoming impaired or killed.

NPC AI Perception: Sound
In addition to default visual perception, I added sound perception which triggers when a player fires a weapon or makes locomotion noise. Locomotion noise is produced from jumping or walking. I created a custom function in the player character that runs every 0.5s, evaluates the player’s maximum velocity during that duration, and generates a sound event whose noise level and range are modulated by that velocity. Crouch-walking is undetectable, allowing players to sneak up on NPCs. The example video has visual perception disabled on the NPC. The NPC updates its focus as this noise event on the player character is triggered.
NPC Damage Reactions
Using the bound event shown above for NotifyImpair, I added flinch animations into the NPC’s logic to make them appear more reactive to the player. From a gameplay perspective, this also provides an incentive for the player to attack from more advantageous angles or to use more precise aim to hit specific bone targets–such as the feet, which could cause the NPC to stumble. The logic for determining these impairment events is contained inside the actor component.
The impairment animation is chosen based on the hitscan vector and hit location.